Offset Smoker Modifications: 6 Easy DIY Upgrades
Easy Offset Smoker Modifications Get Your Pit Together!
Add $100’s of value for less than $75
- Are you currently running with a big box store offset smoker and struggling to get it to perform?
- New to BBQ and want to start off with an entry level pit, but want decent performance?
- Maybe you want to give offset smokers a try and cook with a wood fired pit on a budget?
If this sounds like you, please read this article on offset smoker modifications. Then watch my video below on 6 easy steps for converting a cheap offset smoker. They will help you transform your pit into one that is nearly on par with models that would cost in the 1,000’s of dollars.
Offset Smoker Modifications – Why Do You Need to Upgrade Your Pit?
When talking about these offset smokers from the big box stores, there are several issues that you will be dealing with:
- Heat Loss: These cookers are made with thinner steel. Material thicknesses will range from 3/32″ to about 1/8″. The issue with thinner material is it doesn’t hold the heat. The professional models you see out there will usually be constructed from 1/4″ thick steel.
- Temperature Control: Air leaks in your pit can make for a very frustrating cooking experience. Why are the air leaks so bad? Well because the control of oxygen to your fire is how you will control the temperature of your pit. So you want leaks to a minimum in the firebox so you can have control over temperature.
- Gaps between components: A couple of the major areas of gaps are in the firebox door and the cooking chamber door. As mentioned above with air leaks, you don’t want leaks in the firebox so you can control temperatures. In the cooking chamber, you don’t want leaks because you don’t want to lose heat. The gaps in components is just a function of the quality of the steel used and the manufacturing process.
- Crappy Wheels: Most of these pits come with these crappy steel wheels. These are fine if you don’t plan on moving your pit around, but if you will be moving it around on different surfaces, an upgrade to the wheels is needed.
How to Combat Heat Losses?
Add Tuning Plates
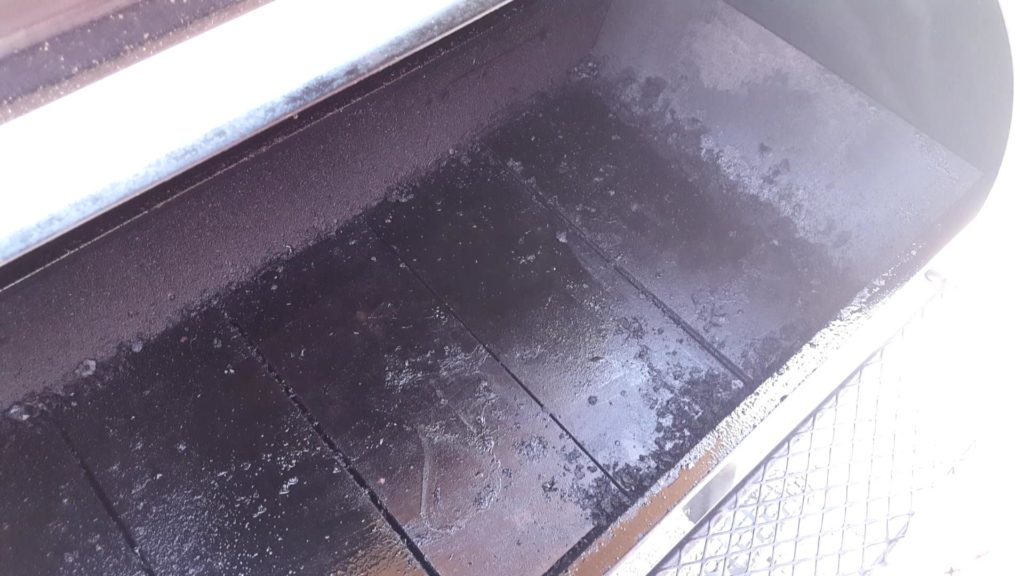 Tuning plates are pieces of steel that are placed in the bottom of your pit and serve a couple of purposes. First tuning plates can be used to even the heat from one side of your cooking chamber to the other. By deflecting the heat from the fire box along the bottom of your cooking chamber you can “tune” your pit so there is very little temperature difference from one side of your smoker to the other.
Tuning Plates as Heat Sinks
Next, the tuning plates also act as a heat sink for your pit, and will hold heat when you open the cooking chamber. This helps your smoker rebound the temperature after each time you look after your food. This is one of the mods that will overcome some of the limitations from the relatively thin steel used in cheaper offset smokers. I recommend using 1/4″ thick plate steel for tuning plates or baffles in the cooking chamber.
Add a Blanket for Cold Weather BBQ
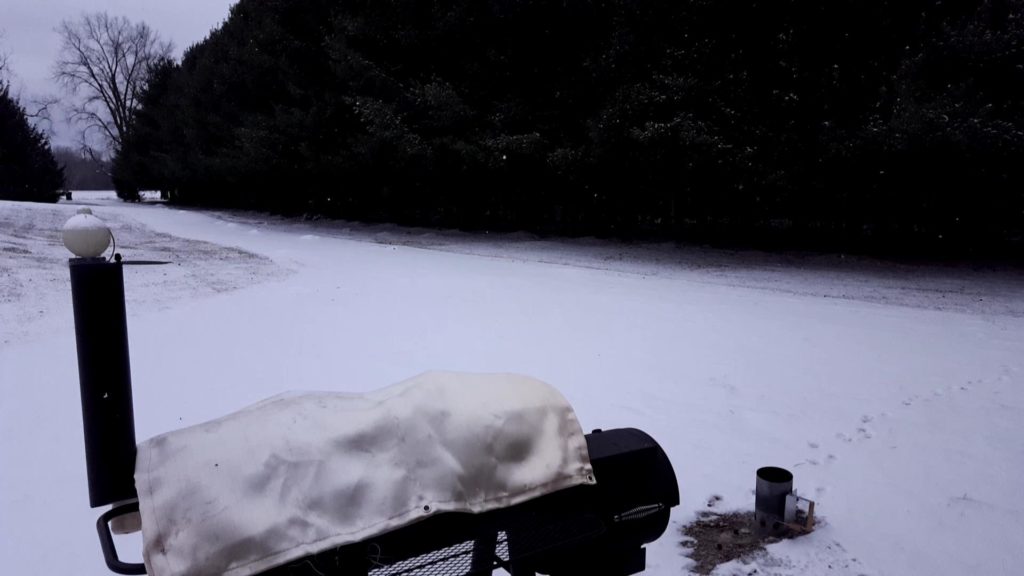
I use a welding blanket when the temperatures start to get cold outside to help my pit keep temperatures a little better. These BBQ pits are built from relatively thin metal, so we need something to help hold the heat in when the external temperatures dip down. I went to my local discount tool store and purchased a fiberglass welding blanket for about $20 and drape that over my pit to help hold in heat.
I know it works pretty good, because I used it in the snow one time and even though the pit temp was around 180 degrees, the blanket was cold enough to keep the snow from melting.
- [Contain the Sparks]: The ABN Emergency Fire Blanket for Welding provides excellent thermal insulation while offering 100 percent fireproof blanket protection
- [Thermal Protection]: 4 x 6ft (1.2 x 1.8m) fire blanket protect from embers; DO NOT CUT – fold to create a small welding blanket as needed
- [Built to Last]: The 19.8 oz/yd squared fiberglass provide thermal protection up to a 1000 degrees Fahrenheit (537 degrees Celsius) working temperature
- [Quality Construction]: 30 x 30 per inch² weave pattern promotes durability for repeated use with a reinforced hem and 3/8in (1cm) grommets spaced 11in (27.9cm) for easy hanging welding curtain
- [Convenient Storage]: Flexible fiberglass welding blankets can be folded to accommodate easy transport and space saving storage
Maintaining a Steady Temperature
Trying to get as close to a constant temperature on an offset smoker can be a challenge with a cheaper model right out of the box. The fire’s temperature is controlled by the air flow to the fire, and for you to be able to control the temps, you need to be able to control that air flow. If the components of your pit all have gaps between them, you will not have control of the air flow to the fire. So you must eliminate all air gaps between components, both on the firebox side and the cooking chamber side.
Sealing Up Your Pit
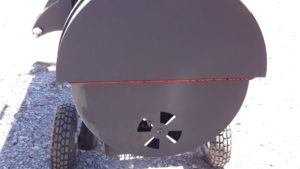
In order to seal your BBQ pit, you will want to apply a high temperature food grade silicone sealant in between any individual parts of your smoker. In my case, you can see I sealed pretty much every joint where there could be a leak.
This red sealant is good up to 600 degrees F and is also FDA approved. I would recommend getting a food grade sealant, you just don’t want to mess around with something that could put off chemicals that could get on your food.
- Food Safe (NSF & FDA Food Grade approval) 650F high temp
- Impervious to all weather conditions
- Bonds to All gaskets and all surfaces
- Waterproof
- Self cureing, easy to apply
Seal The Firebox Door
 Since many of these big box store offset smokers have a firebox with a top door, it can be a challenge to get that door to seal. Thankfully, there are products out there that can seal any gaps you may have. As you can see in the picture above, I’ve got my Brinkmann’s firebox sealed and I did it with a high temp gasket material that is good to 1000 deg F. I used a bead of the high temperature silicon sealant to help attach the gasket to the firebox.
- Perfect for Fire boxes
- 1000F
- 1/8″ x 5/8″ x 8′
- plenty for most jobs
- quick ship.
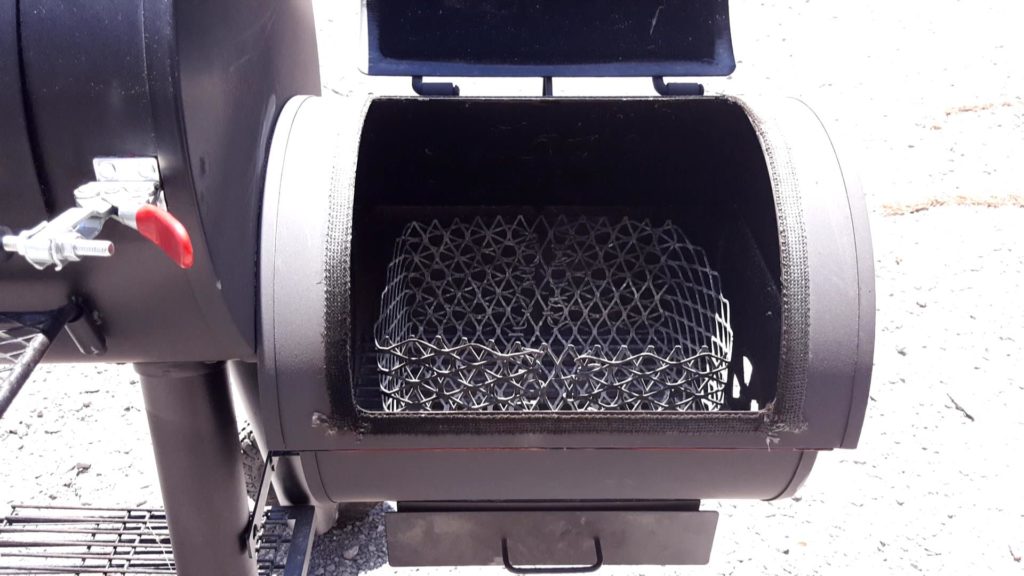
Build a Charcoal Basket
Charcoal baskets are important because they help keep the coals up off the floor of the firebox and let air flow through to your fire better. As you can see in the picture above, they are pretty simple to make, and I made mine from a sheet of expanded metal that I bought from one of the big box home improvement stores. I was able to make mine with only a couple of tools and no welding. If you want to see a video on how to make one like mine, then check out this video right here.
Or if you want to save some time, you can buy a pre-made stainless steel basket right here from Amazon:
- The original heavy-duty basket from Oklahoma Joe’s. Designed in the USA
- Holds enough fuel to load once and cook all day. Also helps keep cleanup quick and simple.
- Fits most offset charcoal smoker grills including the Oklahoma Joe’s Highland, Longhorn, Bandera and 3-in-1 Combo.
- Stainless steel construction so it’s build to last. Quick and easy to assemble.
- Measures 12.3-Inches W x 12.3-Inches D x 7.5-Inches H
Reduce Gaps in Cooking Chamber
Seal the Cooking Chamber Door
Big Box store offset smokers typically have fit up issues between components. One of the biggest issues is the fit between the cooking chamber door and the barrel of the cooking chamber. This will be a source of temperature loss during your cooking and will result in more fuel used and longer cook times. How can you take care of gaps around the cooking chamber door? Well there are some products that you can buy that will take care of this issue.
Install a Door Seal
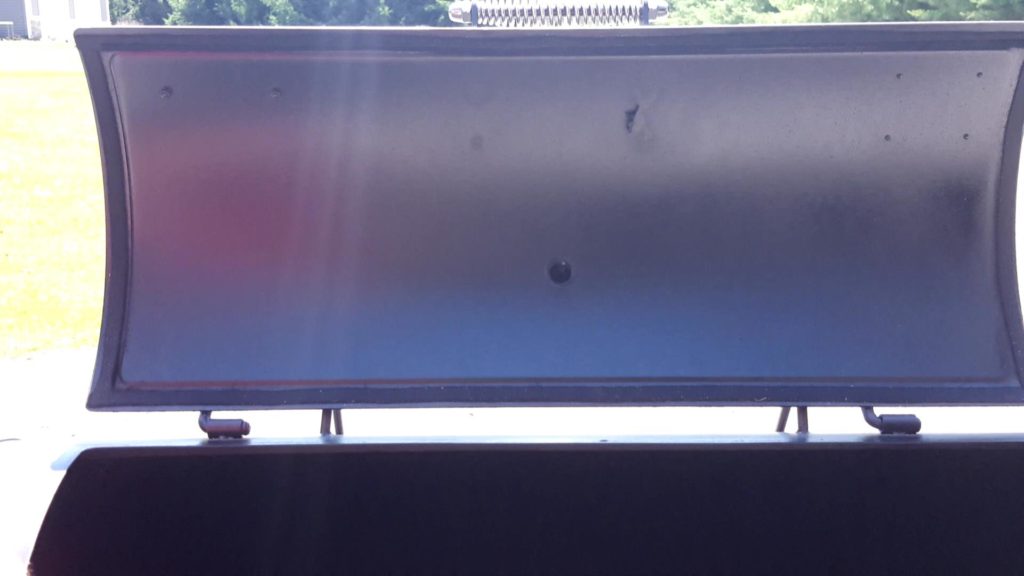 This FireBlack 125 Black Nomex material is perfect for sealing your door. Just place this around the opening on your cooking barrel. This material comes with a self adhesive, but you can also add a bead of high temperature food grade silicone sealant as well. This material is rated to over 800ºF. Dimensions are 1/8″ thick x 1/2″ wide x 15 feet long.
【WONT MELT】 FireBlack125, 800F flame fire proof up to 2,300F
【15 FEET LONG】 180″ x 7/8″ x 1/8″ (15 feet long) – Plenty for most smoker door projects
【SELF STICK】LavaLock gaskets feature Ultra-Temp self stick backing
【BLACK COLOR】Won’t burn or melt like inferioir bbq gaskets. Black bbq gaskets are the best looking and only flame proof BGE gasket.
【MADE IN USA】 Expert USA product support and Made in The United States.
Toggle Clamps
Adding toggle clamps to your cooking chamber door along with the door seal above will create a tight seal when you close your door. On my Brinkmann Trailmaster, I don’t have any leaks at all when I close my cook chamber door and clamp the door closed.
【2 CLAMPS PER PACK】 2 PACK of Front mount push smoker toggle clamps, by LavaLock
【MANY USES ON BBQs】 Great for Smoker Cook Chamber Lids
【RUST RESISTANT】 Heavy duty Construction. Heat resistant
【MOUNTS ON ANY FLAT SURFACE】 Does not include mounting screws, as we do not know what you are mounting it on.
【OTHER】 If you are looking for a Highland Clamp, check out LavaLock LL-12050, as this clamp is not ideal for that smoker
Get a New Set of Wheels!
The last improvement you should make to get your pit together is to put a new set of wheels on it. I recommend this modification because if you ever want to move your pit around, you will be glad to have some better wheels than these crappy steel wheels that you pit came with. 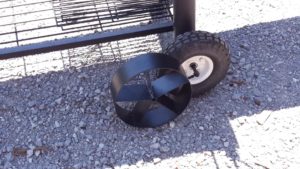
I went to my local discount tool store and found these wheels for about $5 each. These wheels are rubber, and are air filled, so it makes it nice if you are moving your pit either on a concrete patio or a gravel drive. My wheels fit on, but one thing I could have used was a spacer bushing to get the fit between the shaft and the wheels inner bearing just right. I worked fine for me, so I’ve left it as is for now.
These Modifications are EASY!
I’ll be the first to admit, I’m not the handiest guy in the world and I was able to easily make all of these modifications with minimal tools. The most sophisticated tool you will probably need for this job is a disk grinder with a cut-off wheel. Even that tool you could get for around $20 if you didn’t have one.
So if you are thinking about getting one of these smokers, or if you already have one, you really can’t go wrong with these mods. I truly believe that I’ve made my Brinkmann Trailmaster perform almost as good as pits that cost twice as much.
George – TheBBQToolbox.com
PS. Please leave me some comments on what mods you have made with your pits and how you think they turned out.
Learn How to Run Your Pit – Click here


