7 Simple Steps to Learn How to Smoke Meat on a Smoker
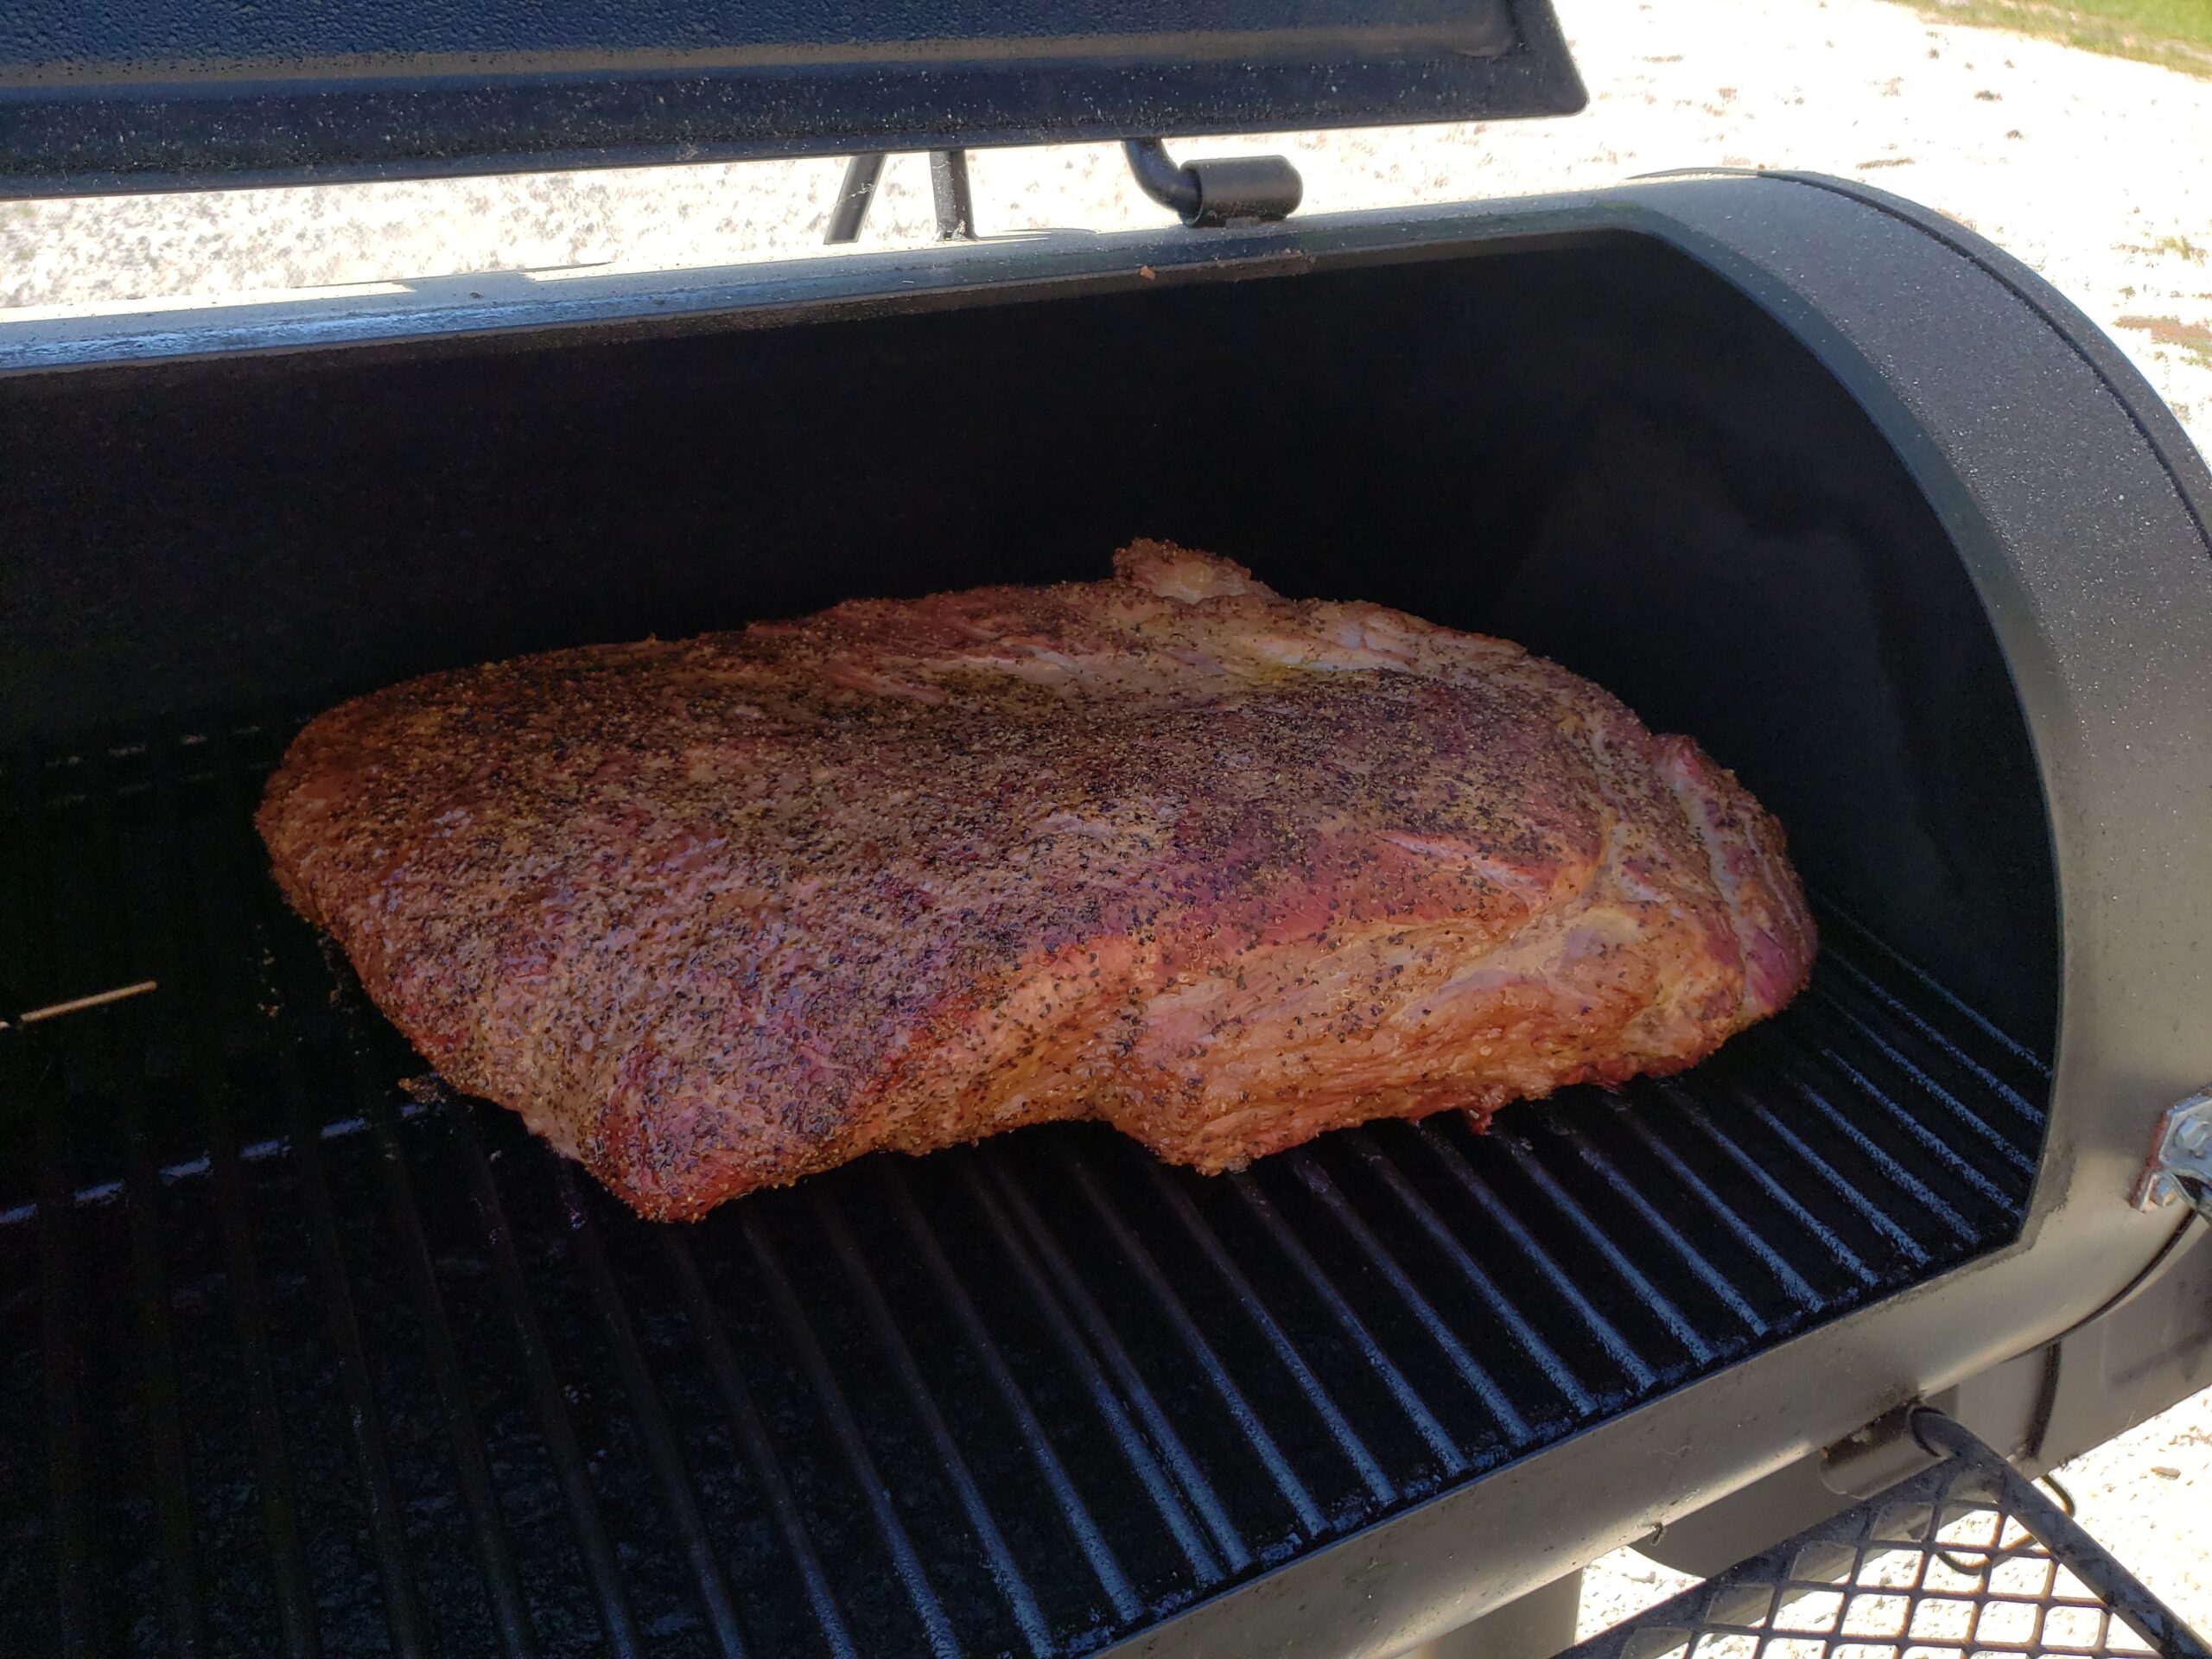
How to Smoke Meat on a Smoker: An Introduction
Smoking meat is more than just a cooking method—it’s an art form, a test of patience, and a skill that brings people together around the table. When I first started, I had no idea what I was doing. My first attempt at ribs on a gas grill? Let’s just say they were edible, but far from the mouthwatering BBQ I’d imagined. Like many beginners, I quickly realized that learning how to smoke meat on a smoker wasn’t as simple as tossing meat onto a grill and hoping for the best.
Did you know that smoking meat has been around for over 10,000 years? This ancient technique has stood the test of time because it transforms humble cuts of meat into tender, flavorful masterpieces. But it takes the right tools, techniques, and a good dose of patience to get it right.
This guide is designed to help you skip some of the rookie mistakes I made and fast-track your way to BBQ success. Whether you’re working with an offset smoker, a pellet grill, or something else entirely, I’ll walk you through the essentials. From choosing your smoker to nailing the perfect bark, I’ve got tips to make the process less intimidating and a lot more rewarding.
So, grab your favorite rub, fire up your smoker, and let’s dive into the delicious world of smoked meat. Trust me—once you’ve mastered it, there’s no going back!
For a list of meat smoking tips for beginners, check out my article here!
What is Smoking Meat?
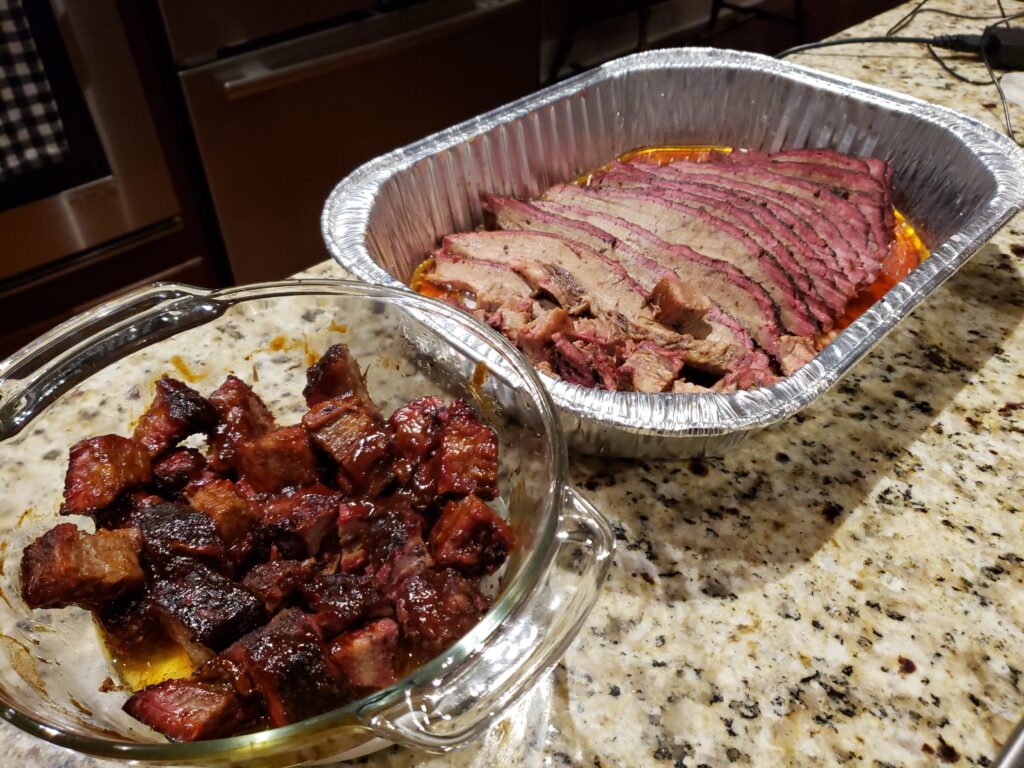
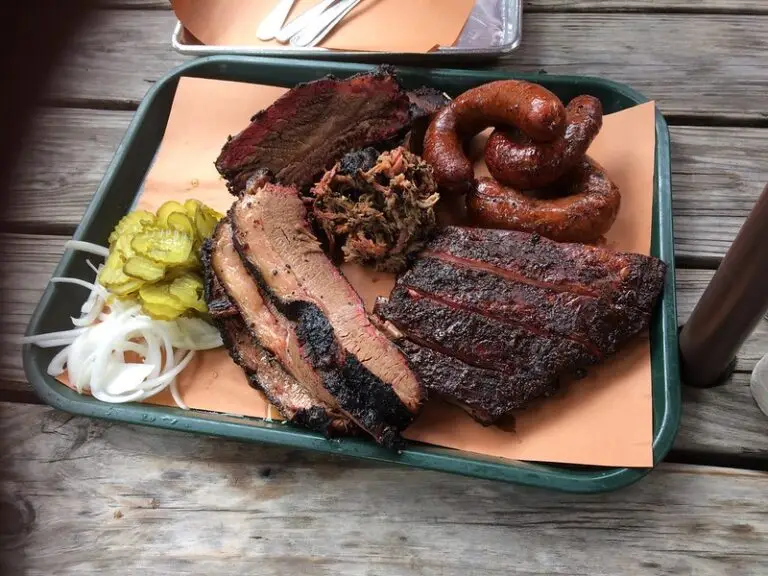
Smoking meat is a culinary technique that involves exposing food to smoke from burning wood or other sources. This process transforms ordinary ingredients into culinary masterpieces, imparting a rich, smoky flavor that is both savory and aromatic. When it comes to smoking meat, the technique has been cherished for centuries, evolving from a method of preservation to a beloved cooking style that enhances the taste of various meats, including beef, pork, lamb, and poultry.
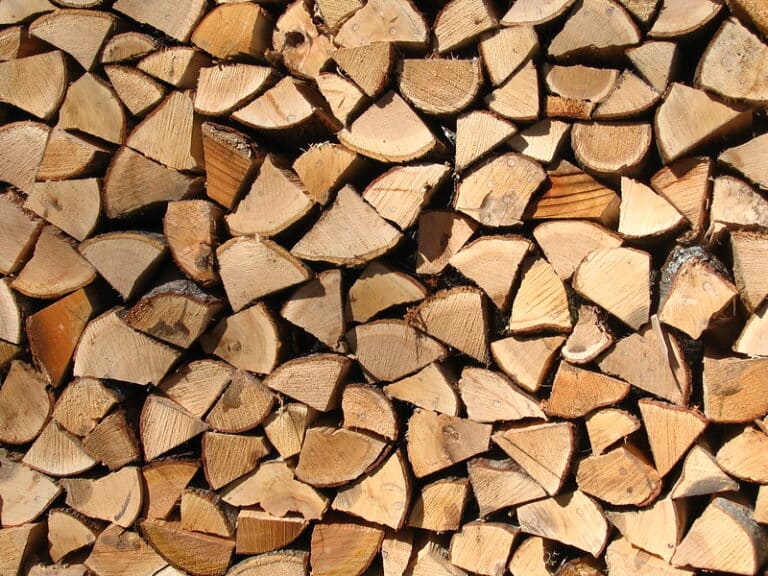
The essence of smoking meat lies in the interaction between the meat and the smoke produced by burning wood. As the wood burns, it releases smoke that envelops the meat, infusing it with a unique flavor profile that is hard to achieve with other cooking methods. The type of wood used can significantly impact the final taste, with options like hickory, oak, and applewood each offering distinct flavors. Whether you’re using a traditional offset smoker or a modern pellet grill, the goal remains the same: to create a symphony of flavors that elevate your BBQ to new heights.
Understanding the Basics
Smoking meat isn’t just cooking; it’s a process, a dance between heat, smoke, and patience. When I first started, back in 2015, I had no clue what I was getting into. I was using a gas grill with a water pan and some foil packets stuffed with applewood chips to create smoke. The results? Decent, but honestly, the flavor just wasn’t there. That lack of authentic BBQ taste pushed me to dig deeper into the art of smoking.
One of the first things I learned is that smoking isn’t about rushing—it’s about the long game. The magic happens when you cook meat low and slow, letting the smoke gently infuse flavor while breaking down tougher cuts into tender, juicy perfection. I also learned the importance of avoiding cold meat before cooking. Bringing meat to room temperature can help achieve a more even cook, although cold meat can absorb smoke better, adding a unique flavor profile. I discovered this firsthand when I finally upgraded to an offset smoker in 2017. Suddenly, I could control airflow, manage temperature, and experiment with different woods like oak and apple. And let me tell you, that was a game-changer.
Here’s the golden rule I live by now: BBQ is done when it’s done. It’s not about sticking to a rigid cooking time or temperature. Every piece of meat is unique. I’ve learned to use a meat thermometer religiously to check internal temperatures and tenderness. Reaching and stabilizing the desired temperature is crucial for proper cooking and smoke absorption, influencing the end result of the smoked meat. It took one or two undercooked racks of ribs to hammer this lesson home.
A key tip for beginners? Start small. Try pork butt or whole chicken before diving into brisket, which can be expensive and a little intimidating. I still remember my first attempt at brisket—watching hours of YouTube videos beforehand and then nervously trimming and seasoning it. It wasn’t perfect, but those earlier experiments with simpler cuts gave me the confidence to handle the big stuff.
If you’re just starting, don’t overcomplicate it. Pick a smoker, learn its quirks, and practice the basics. And remember, every pitmaster has made mistakes—it’s all part of the process.
Choosing the Right Smoker for You
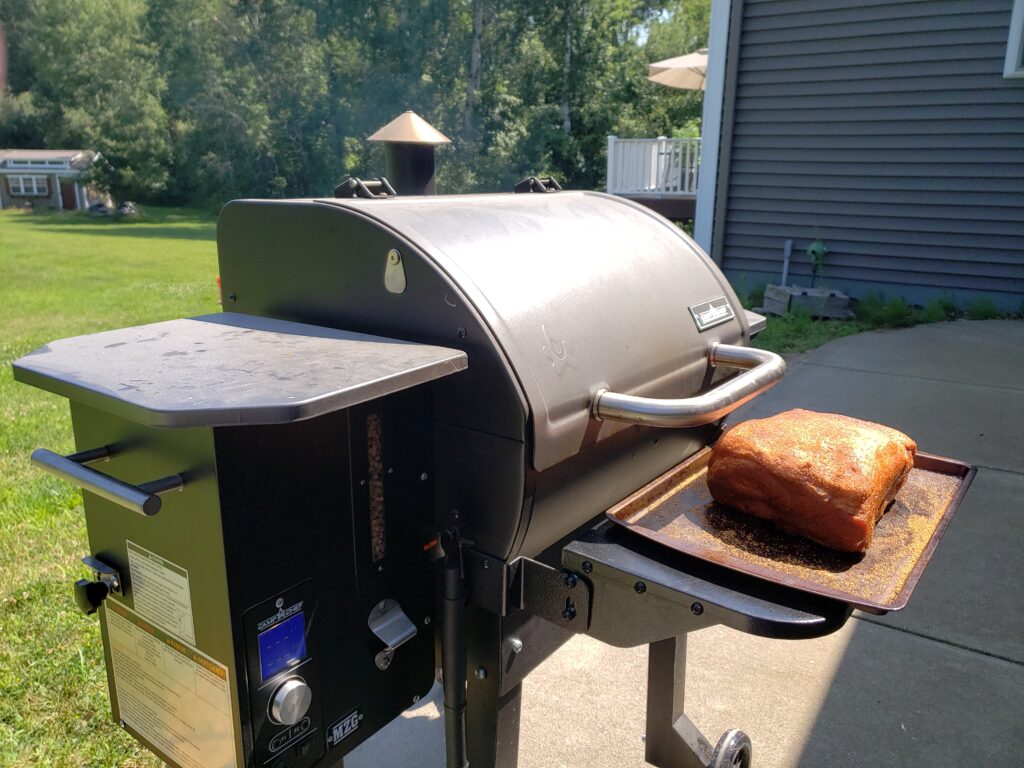
Choosing the right smoker can feel like a huge decision, especially when you’re just starting out. When I was ready to step up my BBQ game, I spent weeks researching. At first, I had been using a gas grill to get by, but it lacked the authentic smoky flavor I craved. That’s when I decided to invest in an offset smoker. After plenty of reading and watching YouTube videos, I settled on a Brinkmann Trailmaster. It wasn’t top-of-the-line, but it had the solid build I needed to get started without breaking the bank.
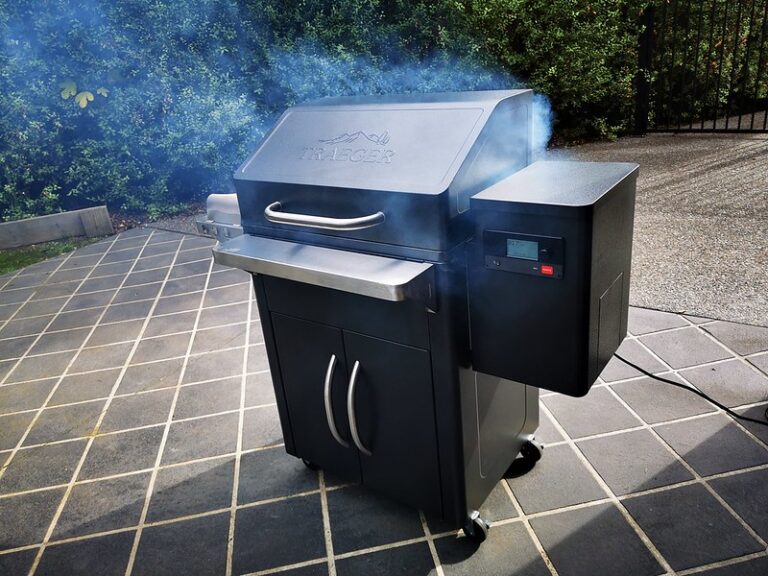
Here’s the thing: the best smoker for you depends on your goals, budget, and how hands-on you want to be. Offset smokers, like mine, are fantastic for authentic BBQ flavor. They let you control the airflow and smoke levels, but you’ve got to babysit them. If you’re up for tending the fire every 30 to 45 minutes, they’re perfect. However, if convenience is more your style, a pellet grill might be a better fit. These allow for “set it and forget it” cooking, sacrificing a little smoke flavor for ease of use.
Let’s quickly break down the main types of smokers:
- Offset Smokers: Great for traditional BBQ and smoky flavor but require constant attention.
- Pellet Grills: Super convenient with automated temperature control but slightly less smoke flavor.
- Electric Smokers: Easy to use and consistent, but they often lack that deep, rich smoke flavor.
- Charcoal Smokers: Affordable with fantastic flavor, but they require skill to manage temperature.
- Gas Smokers: Reliable and straightforward but don’t deliver as much smoke flavor as other types.
- Kettle Grills: Versatile and can be easily transformed into a smoker, offering a simpler alternative for grilling.
When picking a smoker, there are a few key factors to consider:
- Size and Capacity: Think about how many people you typically cook for.
- Material Quality: Thicker metal retains heat better, which is crucial for consistent temperatures.
- Features: Look for things like a good temperature range, easy ash cleanout, or a second cooking rack.
For me, the offset smoker taught me so much about the smoking process, from managing wood splits to controlling heat. But eventually, I added a pellet grill to my arsenal for those times when I didn’t want to hover over the fire. Each type has its strengths, so think about what fits your lifestyle best. A smoker grill, for instance, is essential for barbecuing due to its unique ability to maintain low temperatures for extended periods, achieving tender, flavorful meat.
At the end of the day, it’s not about having the fanciest smoker—it’s about knowing how to use what you’ve got. Start with a smoker that matches your needs and budget, and grow from there as your skills develop. For more details on these smoker types, check out my other articles dedicated to each one!
For a some additional recommendations on smoker selection you can check out these two articles:
- 1) The Best Smoker for a Beginner: 3 Models That Deliver
- 2) Best Starter Smoker: The Ultimate Guide for Beginners
Prepping Your Meat for Smoking
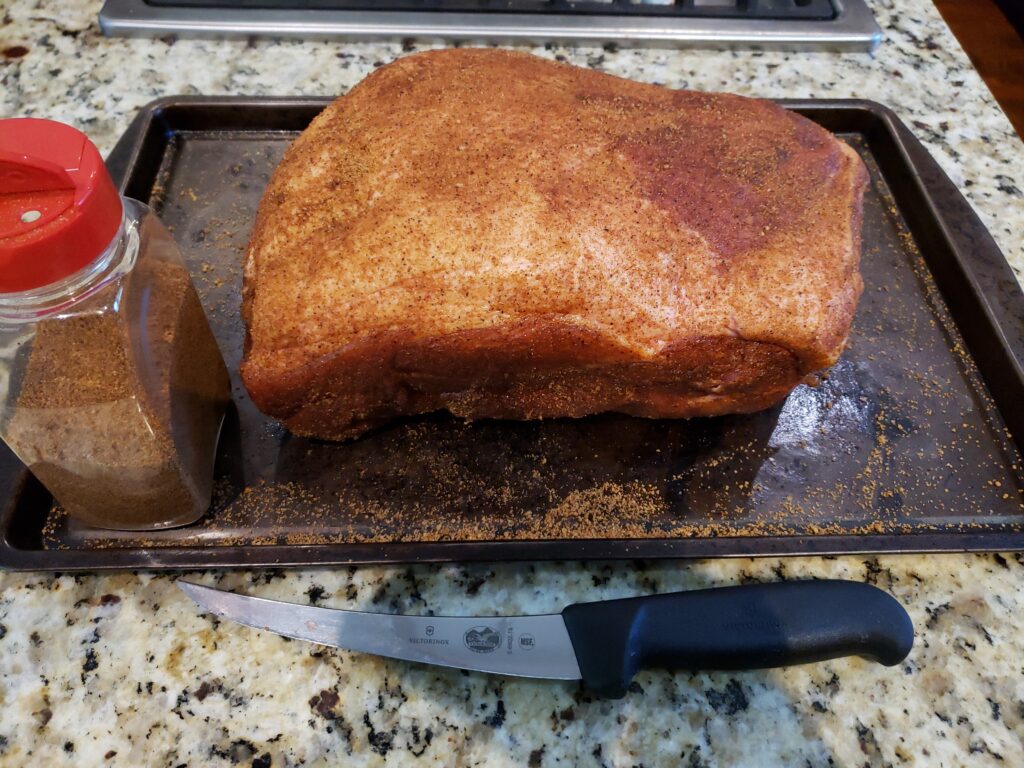
Getting your meat ready for smoking is where all the magic starts. It’s not just about seasoning—it’s about preparing the meat so it cooks evenly and soaks up that smoky flavor. I remember my first brisket. Trimming it was intimidating. I didn’t want to waste any of that pricey meat! But after watching some YouTube videos, I realized trimming isn’t optional. Cutting off extra fat and the tough silver skin helps the smoke get into the meat and creates a nice crust, or “bark.”
The first step is picking the right cut of meat. Look for meat with good marbling (those little lines of fat) and an even thickness. If you’re working with pork butt, you probably won’t need much trimming. But for brisket or ribs, trimming a bit can make a big difference. It’s not just about making it look good—it helps it cook better, too. For beginners, pork shoulder is an ideal choice due to its ability to retain moisture during the long cooking process.
Seasoning is also super important. When I started, I kept it simple with salt, pepper, garlic powder, and a little paprika. As I got more comfortable, I started playing around with different rubs. The trick is to balance sweet, salty, and spicy flavors. Also, don’t rush it—let the rub sit on the meat for a while so it really soaks in. It’ll give you even better flavor.
For larger cuts like brisket or pork butt, you might want to try a brine or injection. This adds moisture and flavor deeper into the meat. If you’re feeling adventurous, experiment with different brine recipes to find your favorite.
Prepping meat takes time and care, but it’s worth it. Do it right, and your meat will be ready to impress when it hits the smoker.
Setting Up Your Smoker
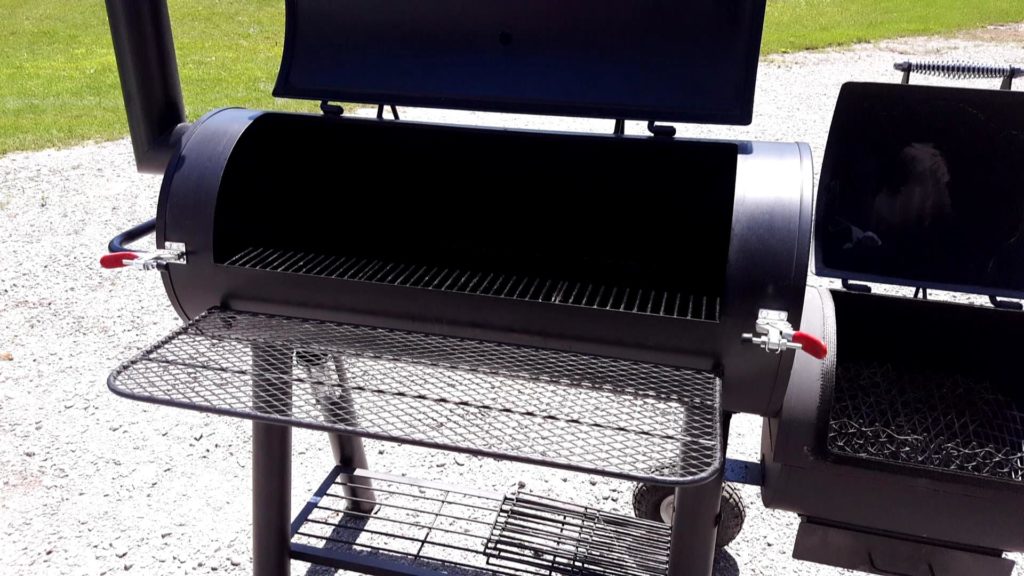
Setting up your smoker the right way is super important if you want great BBQ. It’s not just about starting a fire—it’s about creating the perfect setup for low and slow cooking. When I first used my offset smoker, I didn’t realize how much airflow and temperature control mattered. My first big cook was a mess. I thought I could just figure it out as I went, but without proper setup, I spent more time wrestling with the temperature than enjoying the process.
The first step is lighting the fire. For an offset smoker, start with a base of charcoal to get things going. Then, add small wood splits and wood chunks next to the fire to keep the heat steady and the smoke clean. Don’t use big logs—they can smother your fire and make thick, bitter smoke. I always use a charcoal chimney to make starting the fire easier and more reliable. Once the fire is burning coals, adjust the vents to manage airflow. This controls how much oxygen feeds the fire, which keeps the temperature stable.
Next, preheat your smoker. Let it warm up for 20 to 30 minutes before putting any meat on. This helps even out the temperature and prevents sudden changes while you’re cooking. Adding a water pan to the smoker is also a good idea. It keeps the air humid so your meat doesn’t dry out and even helps with heat regulation.
Getting your smoker set up takes some practice, but it’s worth the effort. Be patient and learn what works best with your specific smoker. Once you’ve got it figured out, you’ll spend less time worrying about the setup and more time enjoying the process—and the delicious results.
The Smoking Process: Step-by-Step
Smoking meat might seem tricky at first, but breaking it down into simple steps makes it much easier. Here’s a step-by-step guide to get you started:
1. Preheat Your Smoker:
Before adding your meat, let your smoker preheat for 20 to 30 minutes. This ensures the cooking environment is stable and consistent. If you’re using an offset smoker, this is the time to check your vents and firebox to make sure everything is running smoothly.
2. Season Your Meat:
Apply your rub or seasoning while the smoker heats up. Don’t rush this part! Letting the seasoning sit for a while allows the flavors to soak in, creating a tastier bark.
3. Add the Meat to the Smoker:
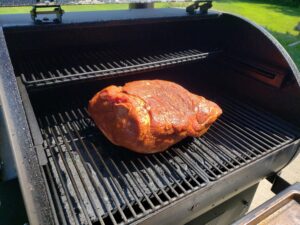
Place the meat on the grates with enough space around it for the smoke to circulate. If you’re cooking larger cuts like brisket or pork butt, make sure the thicker side faces the heat source.
4. Monitor Temperature:

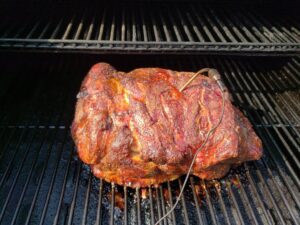
Here’s a tip I learned the hard way: use a reliable meat thermometer to keep track of both the smoker’s temperature and the meat’s internal temperature. Smoking is all about cooking low and slow, usually around 225°F to 275°F. For meats like ribs or brisket, aim for an internal temperature that matches your desired doneness.
5. Manage Your Fire:

Check your fire every 30 to 45 minutes. Add wood splits or charcoal as needed to maintain consistent heat. Remember, thin, blue smoke means you’re in the sweet spot—thick white smoke can leave your meat bitter.
6. Rest Your Meat:
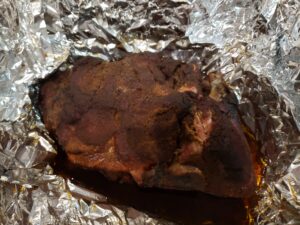
When the meat hits its target internal temperature, remove it and let it rest. Wrap it in foil or butcher paper, and let it sit for 30 minutes to an hour. This locks in the juices and makes the meat even more tender.
Smoking takes time and patience, but following these steps will help you get great results. Keep practicing, and soon it’ll feel like second nature.
Tips for Achieving Perfectly Smoked Meat
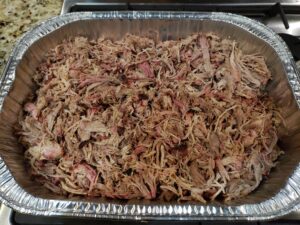
Smoking meat isn’t just about following a recipe—it’s about learning the little details that make a big difference. Over the years, I’ve had my fair share of mistakes, but each one taught me something valuable. Here are my top tips, drawn from experience, to help you achieve perfectly smoked meat every time. Wood smoke adds a unique flavor to meats and contributes to the distinctive taste and aroma of smoked foods.
1. BBQ is Done When It’s Done
One of the hardest lessons I learned is that BBQ isn’t about sticking to a strict cooking time. Each cut of meat is different, and things like the weather or even the smoker’s quirks can affect the cooking process. Always rely on a meat thermometer to check internal temperature and tenderness instead of the clock. Trust me, pulling ribs too soon because you’re rushing will only lead to disappointment.
Meat | Cooking Temperature | Done Temperature | Notes |
Pork Shoulder | 225°F to 250°F | 195°F to 205°F | Cook until tender, so it pulls apart easily. |
Beef Brisket | 225°F to 250°F | 195°F to 205°F | Aim for tenderness where a probe slides in with little resistance. |
Chicken and Turkey | 275°F to 300°F | 165°F | Cook to the internal temperature, don't overcook |
Pork Ribs | 225°F to 250°F | 190°F to 203°F | Cook until the meat is tender and starts to pull away from the bones. |
Pork Chops | 225°F to 250°F | 145°F | Lighter fruit woods like apple pair well with pork chops, while hickory stands up well to their flavor. |
Fish (e.g., Salmon) | 200°F to 225°F | 145°F | Cook to the internal temperature, don't overcook |
2. Prevent Grease Fires
During one brisket cook, I almost ruined everything because I didn’t clean out the grease buildup in my smoker. The fire flared up, and I had to scramble to save my brisket. Now, I make sure my smoker is properly set up to drain grease into the grease cup or tray before every cook. It’s a simple step that can save you a lot of heartache.
3. Rest Your Meat for Best Results
Resting your meat isn’t just optional—it’s essential. I learned this the hard way when I tried serving a brisket straight off the smoker. Letting the meat rest, wrapped in foil or butcher paper, gives the juices time to redistribute. For larger cuts, resting for at least an hour makes a noticeable difference in tenderness and flavor.
4. Don’t Cook for Guests Until You’ve Practiced

Here’s another mistake I made early on: inviting people over for BBQ before I really understood how long the process takes. Once, I had hungry guests waiting while my pork butt stubbornly refused to finish cooking. Since then, I’ve learned to cook ahead of time. If needed, you can hold meat in a cooler wrapped in towels—it stays warm for hours and is ready when you are.
Perfect BBQ isn’t about never making mistakes—it’s about learning from them. Pay attention to the details, stay patient, and don’t be afraid to experiment. Over time, you’ll find your groove and consistently turn out smoky, delicious perfection.
Frequently Asked Questions About Smoking Meat
1. What’s the best wood for smoking meat?
Wood Type | Flavor Profile | Combination Suggestions |
Oak | Medium to strong smoky flavor, well-balanced | Pairs well with apple or cherry |
Hickory | Strong, bold, bacon-like flavor | Mix with milder woods like oak or fruitwoods |
Mesquite | Strong, earthy, intense flavor | Use sparingly or combine with milder woods |
Pecan | Mild, sweet, nutty flavor | Combine with stronger woods like hickory or oak |
Apple | Mild, sweet, fruity flavor | Works well with hickory or oak |
Cherry | Mild, sweet, fruity flavor | Blend with hickory or oak |
The best wood depends on the meat you’re smoking. Mild woods like apple or cherry are great for poultry and pork, while stronger woods like oak or hickory pair well with beef. Avoid green or resinous woods, as they can produce unpleasant flavors.
2. How long does it take to smoke meat?
Smoking time varies by smoker temperature and the cut & size of the meat. For example, ribs typically take 5–6 hours, while a brisket might take 10–14 hours. Always use a meat thermometer to check doneness instead of relying solely on time.
3. How do I control the temperature in my smoker?

Use the vents to control airflow, which regulates the fire. More airflow increases heat, while less lowers it. Regularly check your fire and use a thermometer to monitor the smoker’s internal temperature.
4. Can you over-smoke meat?
Yes, too much smoke can make your meat taste bitter. Aim for thin, blue smoke rather than thick, white smoke, and stick to a clean-burning fire.
5. Do I need to wrap my meat while smoking?
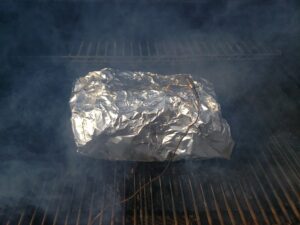
Wrapping meat, often called the “Texas Crutch,” helps keep it moist and speeds up cooking during the final stages. Use foil or butcher paper once the meat reaches around 165°F to prevent drying out.
6. Why does smoked meat sometimes turn out dry?

Dry meat usually happens when it’s overcooked or cooked without enough moisture in the smoker. Use a water pan to maintain humidity, and always rest your meat after cooking to preserve its juices. Also, if you have wrapped your meat while cooking, you can save the juices and fat in a fat separator to drizzle back over the meat after slicing or pulling.
7. What’s the easiest meat for beginners to smoke?
Start with something forgiving, like pork butt or chicken. These cuts are less expensive and easier to handle, making them perfect for learning the basics.
Conclusion:
Mastering how to smoke meat on a smoker takes time, patience, and a bit of trial and error, but the rewards are so worth it. From setting up your smoker to choosing the right cuts and perfecting your seasoning, each step plays a role in creating that mouthwatering, smoky flavor we all crave. Remember, BBQ isn’t about perfection—it’s about the journey. Every mistake teaches you something, and every success tastes even better because of it.
So, fire up your smoker, experiment with different techniques, and don’t be afraid to try something new. Whether it’s your first rack of ribs or your tenth brisket, enjoy the process and the chance to share something special with family and friends.
Ready to take your BBQ skills to the next level? Grab your favorite cut of meat, apply what you’ve learned, and go create something unforgettable.
For some additional information you can also checkout this article: Smoking 101: How to Smoke Meat

